A head gasket leak is supposed to be temporarily fixed with something called a head gasket sealer. It functions by sealing the microscopic holes in the cylinder head of your engine and regaining compression.
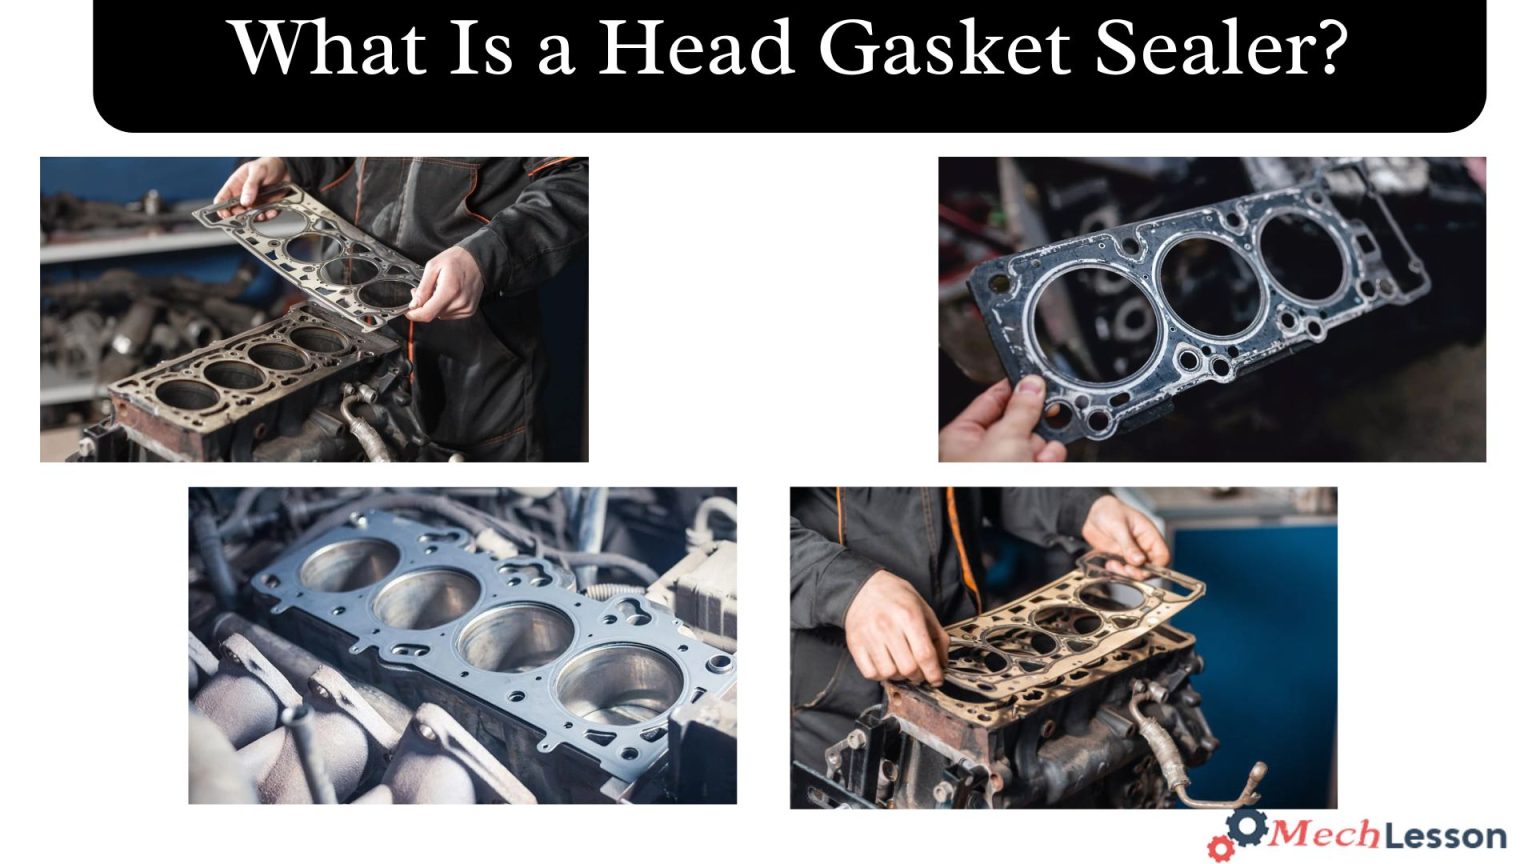
A crucial component of the engine of your car is the head gasket. The head gasket, which is situated between the head and engine block, safeguards your engine’s internal combustion system.
Head gaskets help to maintain your engine’s power, stop leaks, and improve compression. But head gaskets can fail dramatically, just like any other auto component.
This makes purchasing a head gasket sealer essential. These sealers can cost anywhere from $14.50 to approximately $70.00. In this reading, we’ll explore a head gasket sealer, how to use it, and its benefits and drawbacks. We’ll also talk about when to use it!
Let’s begin!
Learn about the head gasket with this guide!
What Is A Head Gasket Sealer?
The head gasket sealer is a liquid injected into the engine to fill the gaps in the head gasket. It is similar to pouring concrete over a break in a sidewalk, only messier. The concept behind a head gasket sealer is that by sealing off tiny holes in the head gasket, it can aid in preventing oil leaks inside the engine.
You might not need to replace your engine entirely. However, there are also drawbacks to utilizing this kind of product: because it’s so simple to add more than is necessary, people often wind up making matters worse.
How To Use a Head Gasket Sealer
Do you want to know how to mend a head gasket that is leaking? We have your back. Here is a step-by-step guide on how to fix a leak using a head gasket sealer:
Get the necessary materials:
To begin the process, you will first require the necessary supplies. Here is a list of the supplies you will need:
- You will need a head gasket sealer.
- A bucket.
- Include a container of water.
- Carjack.
Elevate Your Car
You will first lift your car off the ground using a jack. Continue to the following step once you are certain that the car is suspended safely.
Get ready to collect the car coolant under the radiator
Put a container behind the radiator where you can find it underneath your automobile. This is to catch the coolant that spills when you release the petcock.
Make sure to consult your car’s owner’s manual to determine the amount of coolant it holds, so you can purchase a bucket or container of the appropriate size.
Drain the coolant
Locate the petcock at the radiator. To remove it, use a wrench or pliers, and then allow the coolant to completely drain into a pail.
Close the petcock, then add water. Close the petcock as soon as the coolant stops leaking. The radiator cap will then be removed, and water will be poured into it.
Remove the thermostat
The sealer you’re about to add to the system has the potential to clog the thermostat. Therefore, remove it temporarily to prevent this from happening.
Turn on the car and heater
Activate the ignition and heat. By doing this, the water will be more evenly distributed throughout the car, allowing any remaining coolant to flow out. Monitor the dashboard for any potential high-temperature warnings.
Drain the water
Drain the water and any residual coolant into the bucket after removing the remainder of the coolant. The radiator petcock should then be closed.
Add the coolant and water mixture
Blend coolant and water at a 50-50 ratio. Only add little amounts at a time until you reach capacity; consult your owner’s manual to find out which coolant is appropriate for your car.
Add the head gasket sealer
You should now include the head gasket sealer. Remove the radiator cap, then slowly pour the sealant inside. Choosing the right head gasket sealer for your car is crucial. Always read the sealer’s instructions to be sure you’re adding it to your car in the right method.
Drive the car and check for leaks
Restart your car after replacing the radiator cap. Drive your car for less than 30 minutes after that to assist the head gasket sealer in spreading throughout it.
Thereafter, wait two to three hours before completing the final step and letting your car sit. Once activated, the sealant should not clog the thermostat when you reinstall it. Reintroduce it to the cooling system.
Check to see if the leak was stopped by the head gasket sealer after letting it sit. Look under the oil filter cap for white buildup, white exhaust, or misfiring.
If everything appears to be in order, you’re done!
If a leak is discovered, you can save money by performing your head gasket repair. Visit AutoZone to start with our selection of top-head gasket sealers.
Also learn how to test a blown head gasket with this guide!
The benefits and drawbacks of head gasket sealer use
No matter how clever a product is, it always has specific advantages and disadvantages, and the sealer is no different. Generally speaking, it offers the following advantages:
Benefits
- Utilizing the product is simple.
- Compared to a new engine, it is less expensive.
- It’s an urgent response to the issue of an oil spill.
- It could save you time and money because you don’t have to take the engine out of your car.
Drawbacks
- The head gasket sealer is merely a short-term fix.
- It is less dependable than a brand-new engine.
- The product only lasts a short time and is not very effective.
- Sometimes it’s challenging to tell excellent sealers from bad ones.
You should also learn about the valve cover gasket with this detailed guide!
When is the time to use a Head Gasket Sealer?
You can identify a compromised head gasket and apply a sealer if necessary. Here are a few things to watch out for:
Engine Misfiring
If your vehicle jerks as you accelerate, you may have an engine misfire. This happens because your engine’s cylinder does not fire, which prevents a combustion reaction from occurring. You might have a blown or leaky head gasket if this pattern starts to happen frequently.
White Smoke Coming Out Of Your Exhaust
A leaking head gasket might cause coolant to burn, which can cause your car’s exhaust to emit white smoke.
Cooling System Problems
A blown head gasket issue could also be present if you find bubbles in the cooling system or fluid that has evaporated without a leak.
Car Overheating
Your car is probably overheating and may have a head gasket problem if the temperature warning light on the dashboard is on or the hood is warm to the touch.
Although the situations mentioned earlier can indicate other problems, it is important to examine the head gasket if they occur. Consider using a head gasket sealer if it is damaged.
Also see the intake manifold gasket with this guide!
FAQs
Are head gasket sealants truly effective?
Yes. Head gasket sealers can stop a leaky head gasket for a while, but they are not a long-term cure. These products only work temporarily and have a limited shelf life; eventually, wear and tear will need to be repaired for your car to function properly once more.
How long will the head gasket sealer last?
Some head gasket sealers will last longer than others depending on how your automobile reacts to them because they are built with different components than others. The lifespan of more badly damaged head gaskets is only up to six months; however, head gasket sealant can provide a long-lasting solution for minor leakage.
What is the best product to use for sealing a head gasket?
• Steel Seal Blown Head Gasket Fix Repair Sealer.
• Gasgacinch 440-B Gasket Sealer and Belt Dressing.
• K-Seal ST3501 HD Multi-Purpose One-Step Permanent Coolant Leak Repair.
• Blue Devil 38386 Head Gasket Sealer.
Is it possible to seal a head gasket leak?
Chemical repair products are available to seal the leak without requiring engine disassembly, provided that your automobile can operate safely for more than 15 minutes without overheating. In fact, the remedy is so simple to install that even someone with no mechanical expertise can do it.
Should I change my oil after using the head gasket sealer?
You should change the oil because it has antifreeze in it, but if it still smokes, the head gasket sealer won’t work.
How long does it take for the gasket sealer to work?
When you pour the head gasket sealer into the radiator, it functions. With the heating and fan on high, you drive the automobile for 15 to 30 minutes. The sealant uses heat to activate its unique compounds. They will look for and fit into the head gasket’s cracks and openings.
Could using a gasket sealer be problematic?
Be aware that the major problem with gasket sealant is that it can make replacing solid gaskets or old sealant much more difficult and is frequently unnecessary as an addition to a solid gasket.
How do you know if the head gasket is leaking?
We can fix your head gasket to ensure that your Subaru keeps giving you dependable performance.
• Overheated engine.
• White Smoke Exhaust.
• The coolant level is low.
• Idle rough/engine knock.
• The engine oil is contaminated.
What can be mistaken for a blown head gasket?
Coolant.
For instance, an engine may overheat due to a limited radiator, which is quite similar to a head gasket failure. The vehicle is more likely to overheat the further we drive it. Intake gaskets frequently result in coolant in the oil. It’s common to mistake coolant in oil for a head gasket.