If you’re interested in learning how to wrap a car for personal reasons, you’ve come to the correct place. Car wrapping is the process of completely or partially encasing a car in a unique vinyl film. It’s made to make it easier for customers to modify the appearance of their automobile without having to shell out a fortune for a full respray.
You can alter the appearance of your car with vinyl wrapping by choosing a different colour, style, or texture, such as matt or shine. In reality, a wide variety of alternatives are now available thanks to the growing popularity of wrapping, letting you give your automobile a personal touch.
The wonderful thing about car wrapping is that many of the colours, designs, and textures are incomparable to a conventional respray. Alternatively, they could be comparable, but the cost would be too high for most car owners to afford. In this article, we’ll discuss how to wrap a car and other related topics you might find helpful.
Let’s begin!
Read about 21 Different Types of Car and Their Body Style with this detailed guide!
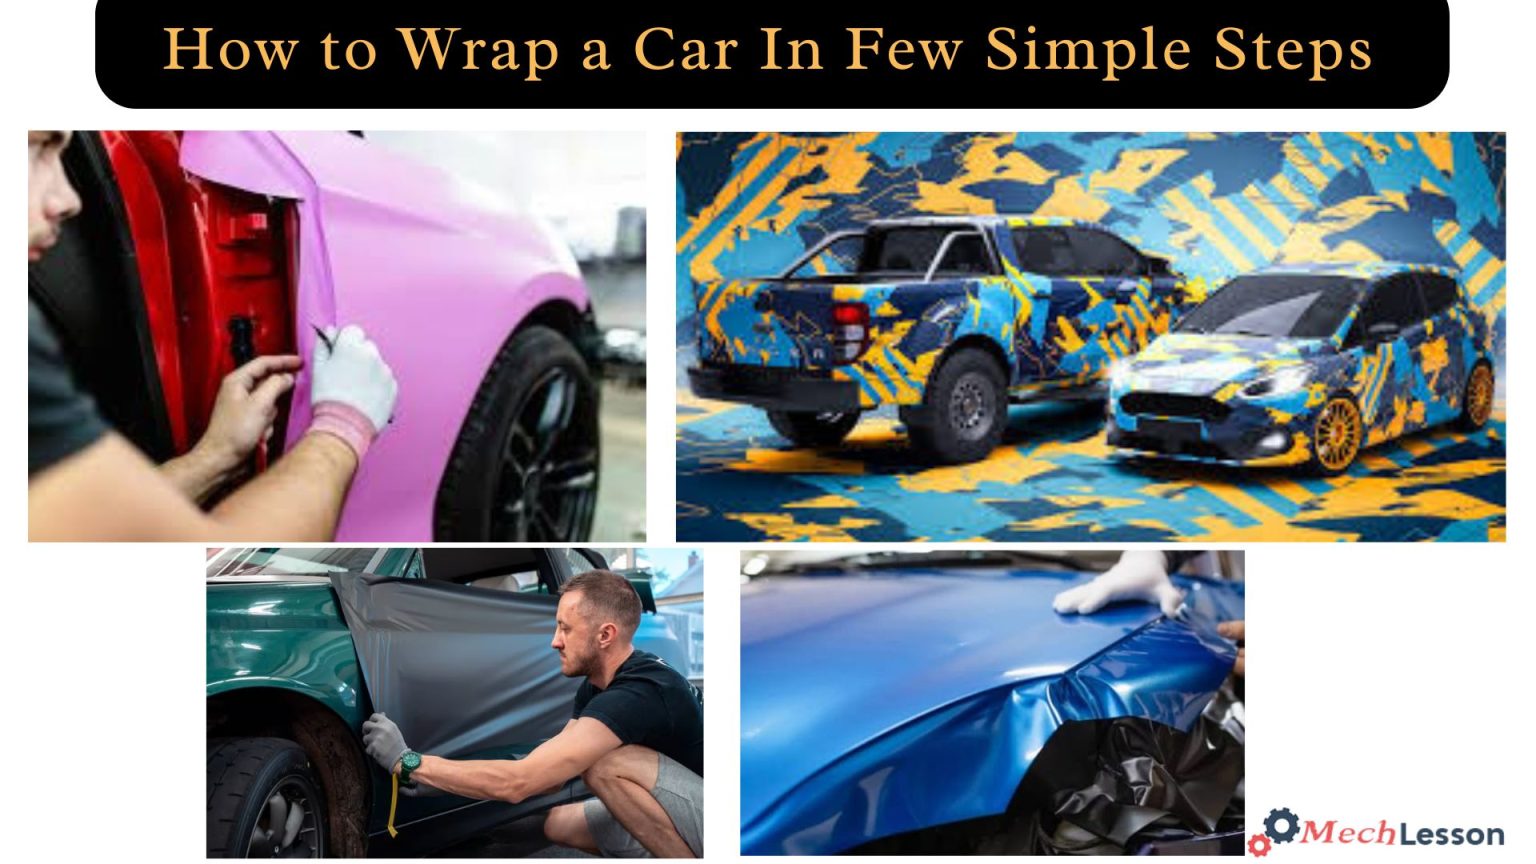
How to Wrap a Car
Even if you did a good job of preparing the surface and yourself, if you’ve ever attempted to apply vinyl lettering or graphics to your car, you probably found the task challenging.
You might have believed a full vinyl car wrap to be firmly in the realm of expert installation after noticing tears, bubbles, stretch marks, and creases. There have been several changes, including improved adhesives, durable vinyl, and air-release technologies.
Even a DIY enthusiast can get fantastic results. Are you prepared to begin?
Prepare to wrap your car:
Take into account the canvas you are wrapping. Are the paint and bodywork flawless? Chips, dents, gouges, and rust can damage a vinyl wrap, but minor scratches are not a problem. The fault will be much more obvious if the wrap sticks to it.
The wrap will bubble or rip if it doesn’t adhere to the floor, destroying the job. Before wrapping your car, take care of these flaws. Decide on a location. You don’t need a clean room for medical research, but a sterile and controlled setting will keep dust from getting in the way of your work.
Dust, debris, and insects will damage your finish, much like paint and body flaws do. Close the doors and sweep, vacuum, and mop if necessary to complete a fantastic vinyl wrap project. On a warm day, work. The temperatures of vinyl and vinyl glue are delicate. Around 68 °F (20 °C) should be the temperature of both the car and the wrap.
Colder causes the vinyl to become brittle and vulnerable to tearing. If it’s hotter, the adhesive could react too quickly, making a smooth installation challenging. Use a non-contact infrared thermometer to monitor the situation.
Amass your equipment, resources, and supplies. A typical car needs a 25-foot roll of vinyl wrap that is 60 inches wide. There are narrower rolls available, but sewing one is a tricky task for a novice.
You will require a general cleanser, a grease and wax remover, isopropyl alcohol that is 70 or 90 percent, lint-free towels or cloths, a squeegee, a utility knife, cutting tape, a heat gun, an infrared thermometer, and cotton wrap gloves.
Read about 35 List of Car Body Parts with this detailed guide!
Surface Preparation and Planning:
Vinyl wrap will adhere to a clean surface that non-wax car wash products leave behind. Thereafter, use isopropyl alcohol and lint-free cloths to thoroughly wipe the surface.
Get rid of any obstructions on the wrap surface. You can wrap around an antenna, headlight, mirror, door handle, or insignia, but doing so significantly increases the effort and time needed to achieve a high-quality vinyl wrap finish.
By getting rid of impediments, you can avoid buying an ibuprofen bottle. To get rid of dust or fingerprints, go over the surface again with alcohol.
Take the length of each portion you intend to wrap, plus a few inches for handling. Please create a diagram of your car’s body panels and record these measurements for future reference. Measure three times, cut once, and add a little.
Keep in mind that once you’ve taken off material, you cannot add more! You will need to sew a seam if a panel is nearly as wide as or wider than your widest vehicle wrap. Try wrapping a 60-inch hood with a 60-inch wrap; you will fall short, without a doubt.
Lay your first sheets of vinyl
To gain confidence and momentum when working on your first vehicle wrap job, it is best to begin with smaller, flatter areas before moving on to a wide roof or contoured hood. Refer to your sketch and dimensions to determine the amount of material you need to cut with a utility knife.
While you and your partner are wearing cotton gloves, remove the backing paper while maintaining even tension on the wrap and hold the vinyl in the air. This lessens creases and wrinkles. Lay the vinyl wrap carefully over the panel, leaving enough material around the borders for manipulation.
Maintain stress on the remaining sheet of paper while gently pressing the vinyl into the panel’s centre. Beginning in the center of the panel, work your way toward the edges with overlapping strokes. By forcing the air out, the vinyl will momentarily stick to the panel.
Force out air and wrinkles:
A two-dimensional object must conform to a three-dimensional surface, which can be particularly difficult with curved surfaces. As you work, if you see any bubbles or creases, gently peel back the vinyl and use heat and stress to stretch it into position.
The temperature should not exceed 120 °F (80 °C). Back out from the centre to the edges with the squeegee once more. The same difficulties arise when wrapping other objects like mirrors, wheels, or interior panels. When fitting to curved surfaces, be careful to get the stretch just right.
The process of sewing can be difficult, but there are a few solutions. The simplest method is to simply overlay two vinyl pieces; this takes careful alignment but doesn’t involve cutting. With no need for a blade, Kevlar cutting tape creates flawless stitches.
The final option is to use snap knives, which should have a sharp edge to prevent snagging and be soft to avoid damaging the underlying paint.
Edging and Finishing:
Wrapping the panel edges is the first step in creating a beautiful finish. Contrary to popular belief, larger margins are worse, so use the utility knife to trim any surplus material to within a quarter inch (2-3 mm) of the edge.
The vinyl wrap and panel edges should be evenly heated to at least 212 °F (100 °C) to activate the adhesive. In order to ensure equal heating, use the thermometer. To firmly adhere the vinyl edge to the panel, seal it with the squeegee and your fingers. If you had to heat the vinyl to bend it, let it cool before cutting.
Use the heat gun to apply at least 212 °F to the remaining portion of the panel or component after sealing and setting the corners and edges. This turns on the vinyl’s remaining adhesive, ensuring a strong bind. The vinyl wrap should be firmly adhered to the surface using your hands and a squeegee.
Bubbles may form at this point, but you can safely puncture them using a pin or utility blade and your fingertips. To confirm equal heating, use the thermometer once more. The adhesive needs at least 12 hours to completely set.
Read about Reasons Why a Car Window Won’t Go Up with this detailed guide!
How to Clean a Vinyl Wrap
- Wash frequently to avoid the accumulation of more dirt and grime. Spot applications of isopropyl alcohol may be necessary for stubborn stains.
- The best cleaning is gentle. We recommend hand washing and drying vinyl to maintain its cleanliness. Before using microfibre towels to dry, squeeze out extra water using a silicone squeegee. Brush car washes should be avoided since they can damage the vinyl wrap’s edges by scratching and pulling them. Pressure washers can be used on soft settings under 2,000 psi, under 180 °F (80°C), with a >40° spray tip, at least 12 inches (30 cm) from the surface, and at right angles to the surface. Touchless or brushless car washes are good options.
- Products like polish and wax can cause haze and damage the appearance of textured vinyl.
Important tips
- Never install vinyl over a wet surface.
- Before applying vinyl, remove the mirrors and moulding from the automobiles and trucks. It could take 30 minutes to wrap the vinyl around a mirror, but it only takes about 5 minutes to take it off.
- To assist the vinyl shrinking into concave panels, such as car bumpers, pre-stretch it with a heat gun.
- Before applying your vinyl, test it to see how far it can stretch and how much heat it can take. Knowing your vinyl in advance will improve your ability to read it, making installation simpler.
- Avoid overly stretching the vinyl. One of the most frequent reasons for incorrect vinyl wrap installation is overhandling.
- Always read the manufacturer’s instructions before using any vinyl.
- To prevent hurting yourself or others, use caution when handling heat guns.
FAQs
Can you wrap your car yourself?
Absolutely! Vinyl car wraps can significantly alter the appearance of your automobile, but they only need a few simple pieces of equipment, a tidy workspace, and a patient attitude.
How much does it cost to wrap your car?
Depending on the size and complexity of the operation, car wrapping will cost various prices. Partial wraps can cost between $500 and $2,500, while full wraps often cost between $2,500 and $7,000. It’s critical to remember that these costs can change based on the materials utilised and the difficulty of the project.
How do you wrap a car step by step?
- Plan ahead
- Clean and Prepare
- Take measurements and cut
- Lay the Wrap
- Cut the vinyl wrap (not the car)
- Tuck the Edges
- Set the Wrap in a warm environment.
Is it cheaper to wrap or paint a car?
Paint jobs often cost between $3,000 and $10,000. A high-quality automobile wrap, however, costs between $2,500 and $5,000. Many businesses with fleets prefer professional car wraps over paint since a competent paint job can cost more than twice as much.
How long do car wraps last?
A professional vehicle wrap placed at a dedicated wrapping facility with high-quality materials will last three to five years.
Can you wrap and unwrap a car?
YES. If you have wrapped the automobile with high-quality car wrap vinyl, the removal process is fairly simple. All you need is some experience, a heat source (ideally a heat gun) and a lot of patience. Avery and 3M manufacture high-quality films designed to eliminate sticky residue with minimal effort.
What happens when you wrap a car?
A car wrap is a sizable vinyl decal or graphic, similar to other vehicle wraps. You can directly apply it to all or some of your vehicle’s painted surfaces. It can drastically alter the colour and overall appearance of your vehicles, allowing for bold, distinctive, and noticeable branding. Either a gloss or a matte finish is available.
What are the pros and cons of wrapping a car?
- Vinyl wrapping a car is substantially less expensive than completely repainting it.
- Customisability.
- Little downtime.
- The preservation of paint is important.
- Cons of Car Vinyl Wrapping.
- Quality variations.
- Some people simply enjoy how the paint looks.
Can you wrap a plastic car?
both yes and no. Vinyl graphics’ ability to adhere properly to plastic surfaces depends on several factors, including the kind of plastic used and the process used to make it. The knowledge and experience of the applicator will be a major factor in whether it is successful or not.
How long does it take to self-wrap a car?
Depending on the size of the car, a typical vehicle wrap installation can take 7–9 hours or longer. A full wrap often takes two to three days to finish. The vehicle must normally be left at the installation site because the installation is done inside.
How long does it take to wrap your car?
When done by experts, you should allow 2 to 3 days, which includes wrapping and a 12-hour rest period for the film. Give it 2-3 full days for DIYers who work alone or with little assistance to complete the task. Depending on the size and complexity of the car, two workers can complete the task in 1.5 to 2 days.